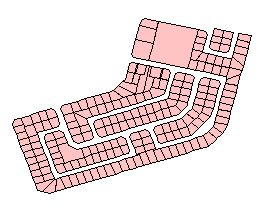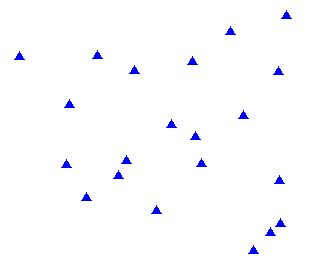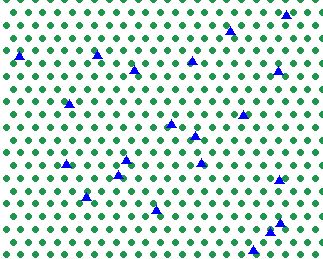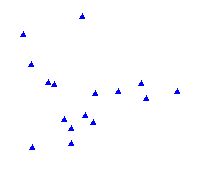
The goal: to create non overlapping buffers around the points that will carry point's attributes
The Buffer Wizard (standard with ArcView 3.1 and above) has options to merge or not the buffers, but do not allow the point attributes to be carried over to the resulting polygons.
There are couple of scripts available on Arc Scripts page that will allow transferring the points attribute to the created buffers, but the requirements are to use non merged buffers.
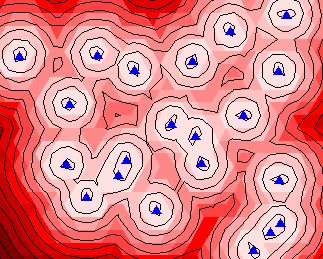
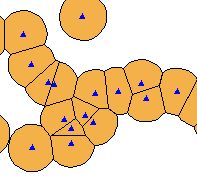
What will happen if the buffer distance is bigger than the distance between the points?
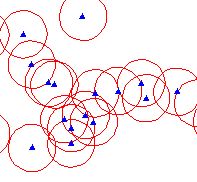
The picture on the left illustrates it very well. - Plenty of overlapping circles that do not allow any analysis to be performed
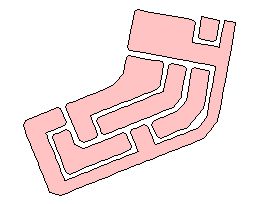
Edit Tools does not tolerate overlapping polygon features. Its buffer function will automatically merge the buffers that share common area.
Then how to create buffers from the points in this example and attach the point's attributes to the buffers?

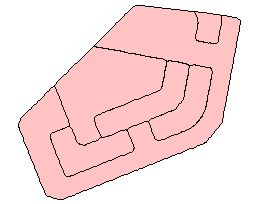
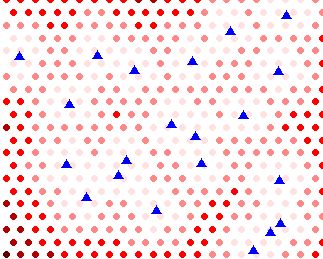
Use: ET Geoprocessing - Buffer
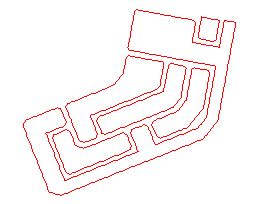
Now we need to split somehow the merged buffered area
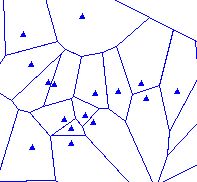
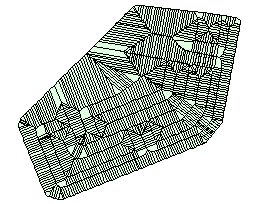
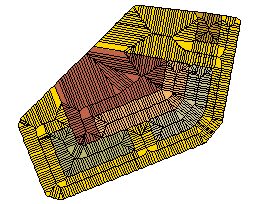
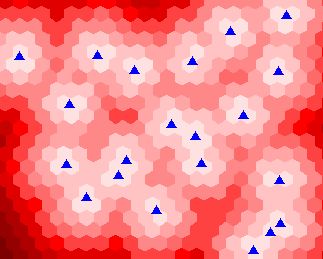
Use: ET Miscellaneous - Thiessen Polygons (use buffered Convex Hull option with buffer distance bigger than the buffer distance used in the buffer procedure in Step 1)
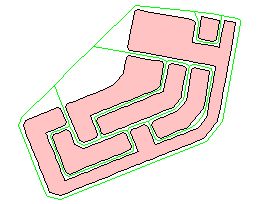
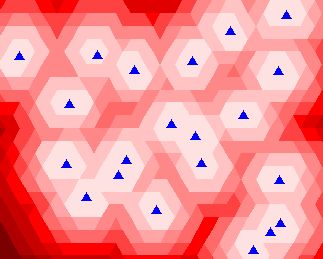
Use:
- ET EditTheme - select the buffer theme
- Start editing the buffer theme
- Click on Split with polygon button
- Select the Thiessen polygon theme as a split theme
- Stop editing the buffer theme
Use:
- ET EditTheme - select the buffer theme
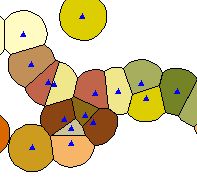
- Click Attributes from points
- Select your source point theme as attribute source
If no overlapping buffers are present you can skip steps 2. and 3.

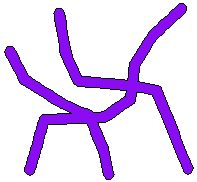
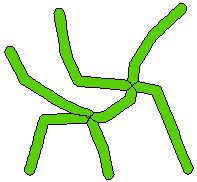
The goal: to create non overlapping buffers around the polylines that will carry polyline's attributes
In this case the overlaps are unavoidable.
Read the notes about buffering from the previous example
Use: ET Geoprocessing - Buffer
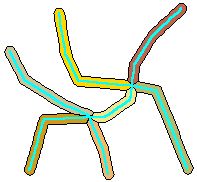
Use: ET Miscellaneous - Thiessen Polygons
- use buffered Convex Hull option with buffer distance bigger than the buffer distance used in the buffer procedure in Step 1
- use dissolve option with the attribute you want to transfer
NOTE: For best results create vertices in each polyline very close to the intersections
Use:
- ET EditTheme - select the buffer theme
- Start editing the buffer theme
- Click on Split with polygon button
- Select the Thiessen polygon theme as a split theme
- Stop editing the buffer theme
Use:
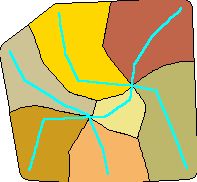
- ET Geoprocessing - Attributes from polygon
- Select the Thiessen polygon theme as a source
- Select the center inside option